
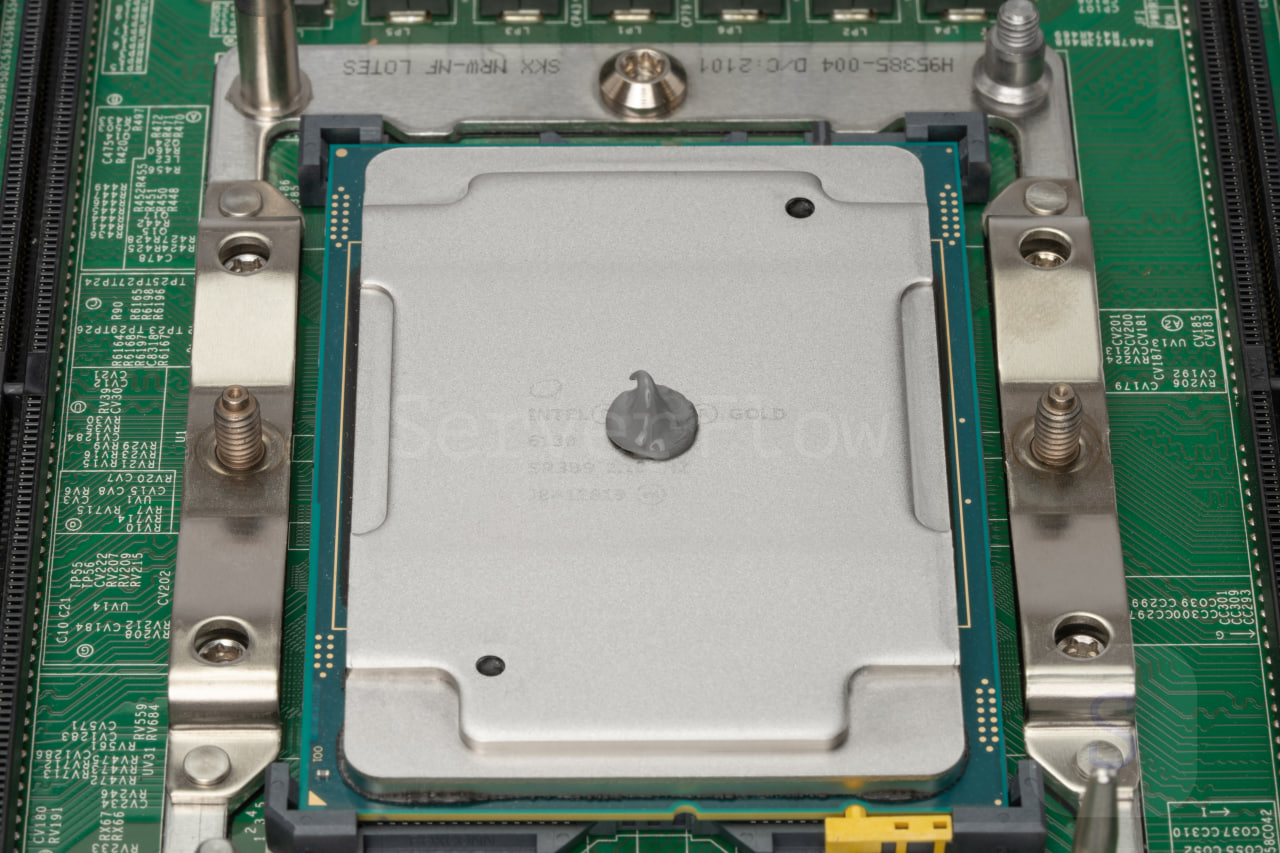
We’ve already covered thermal paste and its types in a separate article. However, simply knowing the different types of thermal pastes is not enough—you also need to know how to apply them to processors correctly. You can find many different methods for applying thermal paste online, and each author claims their method is the best. However, in reality, most of these methods are completely ineffective, and using them will waste thermal paste, reduce its heat dissipation, and, in some cases, even damage your equipment. In this article, we’ll tell you how to properly apply thermal paste and its alternatives to a processor, how to change the thermal paste, how often it should be changed, and we’ll also discuss the most common mistakes in applying thermal paste.
Applying thermal paste
Applying thermal paste may seem unimportant, but in fact, it’s one of the most crucial steps. The lifespan of both the thermal paste and the equipment depends on its proper application. If the thermal paste is applied incorrectly, the processor or other component adjacent to the heatsink will overheat and eventually fail. Even the most popular method of applying thermal paste—applying a drop of the paste to the processor and then placing the heatsink on top, allowing the paste to spread across the chip’s surface—isn’t ideal. The corners of the processor will likely not be coated with the paste, resulting in inadequate cooling. Here’s the complete procedure for applying thermal paste correctly:
- Surface preparation. Before applying the paste, thoroughly clean the processor and cooler base of any dirt (dust and microscopic debris) using a soft cloth, and degrease the surface with isopropyl alcohol. This ensures the thermal paste is applied evenly, leaving no voids and preventing heat dissipation.
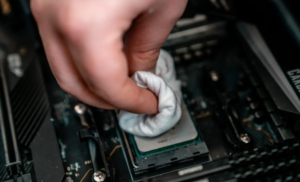
Without proper surface preparation, thermal paste may adhere incorrectly. Source: appuals.com.
- Applying the paste. Apply a small amount of thermal paste to the center of the processor, then spread it thinly over the entire surface of the chip cover. Many people spread the paste with their fingers, and this method is acceptable, but it’s better to use a special spatula, which is often included with the thermal paste. It’s important not to apply too much paste; otherwise, it may squeeze out beyond the processor. If you’re using a thermal pad or phase-change paste, simply stick it to the processor;
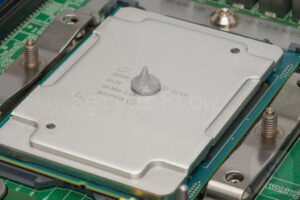
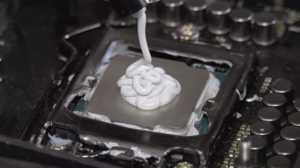
One drop is enough to evenly distribute the thermal paste over the processor surface.
- Installing the heatsink. After applying the paste, it’s important to properly secure the heatsink to ensure the paste is evenly distributed across the chip surface without creating air pockets that reduce heat transfer efficiency. Do not apply thermal paste directly to the heatsink surface.

The process of installing a cooler on a processor with applied thermal paste.
Why change thermal paste?
Over time, any thermal paste degrades, and its thermal conductivity decreases, so it needs to be replaced periodically. The frequency of thermal paste replacement depends on several factors. First and foremost, pay attention to the paste’s composition. Different types of paste, as well as their equivalents, have different lifespans—some can effectively dissipate heat for about one year, while others remain effective for up to ten years. Here’s a list of the longevity of different thermal paste compositions:
- Silicone thermal paste – silicone compounds are more prone to drying out, so their lifespan is the shortest. It is recommended to replace silicone thermal paste every 1–2 years, especially under heavy loads or high system temperatures.
- Ceramic thermal paste – ceramic pastes are more resistant to drying out and typically last longer. They can be replaced every 2–3 years, but their lifespan may be reduced at high temperatures or under constant load, as ceramic has lower thermal conductivity than silicone.
- Carbon thermal pastes provide high thermal conductivity and durability. Many retain their properties for up to 3-5 years and typically require replacement less frequently. However, with heavy use, it’s best to check their condition every 2-3 years, as even durable pastes can lose their effectiveness over time.

Thermally conductive compounds from popular manufacturers.
If your device operates in unfavorable conditions, such as high ambient temperatures or high humidity, the service life of your thermal paste may be significantly reduced. Furthermore, performance also impacts its service life, as the more powerful the equipment, the more heat it generates, which, over time, alters the thermal paste’s properties. To avoid this, it’s important to select a thermal paste with a suitable thermal conductivity coefficient (TCC) for your system. You can learn more about the TCCs of different paste formulations and their equivalents in this article.
How to change thermal paste?
Replacing thermal paste is just as important as applying it. The effectiveness of heat dissipation depends on how well you clean the processor of old thermal paste and prepare the surface for applying new thermal paste. To replace the thermal paste, first turn off the device, unplug it, and wait until it cools completely. Then, remove the heatsink by carefully unscrewing its fasteners. Afterward, remove the old paste using a soft cloth or cotton pad soaked in isopropyl alcohol (90% ethanol or higher). Wait until the alcohol has completely evaporated before applying the new thermal paste.
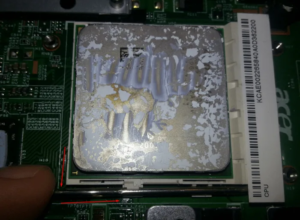
What dried thermal paste looks like on a processor.
Common mistakes
When applying thermal paste, it’s important to follow precise technique, as mistakes can lead to poor heat dissipation and, in some cases, damage to components. Here are five common mistakes to avoid:
- Too much thermal paste. Excess paste can cause it to squeeze out at the edges, getting on other system components, which can also cause a short circuit if the paste is conductive. A small amount of paste is sufficient to completely and evenly cover the processor surface with a thin layer;
- Uneven application. Uneven application of thermal paste creates air gaps that impede effective heat dissipation. Spread the paste evenly over the chip cover, avoiding gaps;
- Using old or dried-out thermal paste. Old or improperly stored thermal paste can dry out or flake, causing it to lose its physical properties and become less effective. Before applying a new layer of thermal paste, it’s important to ensure the correct thermal paste is used;
- Using the wrong type of thermal paste. Some users choose thermal paste without considering its composition and thermal conductivity, which can lead to chip overheating or even complete failure. For example, liquid metals have high thermal conductivity but require careful application because they conduct electricity and can cause short circuits.
- Mixing different types of thermal paste. Sometimes users add a new layer of thermal paste over the old one, believing this will improve heat dissipation. In reality, different types of paste may not mix properly, leading to reduced efficiency. Always remove the old paste before applying a new one to avoid any unpleasant consequences.
A clear example of improper thermal paste application.
Conclusion
Applying and replacing thermal paste is part of the regular maintenance process for computing equipment, which determines how effectively the thermal compound performs its job. It’s crucial to perform these steps carefully, adhering to the principles outlined above and avoiding the mistakes listed. Otherwise, you’ll not only waste the paste and reduce its effectiveness but also accelerate wear on your processors, leading to their failure.
About the Author